If you’re publishing through a traditional publisher, formatting isn’t something you have to worry about. They take care of everything—laying out the pages, making sure the book looks right on paper or on a screen, and handling all the technical stuff behind the scenes.
But when you’re self-publishing an eBook, it’s a different story. You’re in charge of the formatting. And it’s not as simple as saving your manuscript as a PDF and uploading it. eBooks work differently. Text has to adjust to all kinds of screen sizes and devices, from phones to tablets to Kindles.
Now, if you’re self-publishing a paperback instead, you’ve got it a little easier. Print formatting has been around for a long time, and there are tons of templates and guides to follow. You can see exactly how the pages will look before they go to print. With eBooks, you don’t get that kind of control, so formatting matters even more.
The good news? You don’t need to be a tech expert to get it right. This guide will show you, step by step, how to format your eBook properly so it looks professional and reads smoothly on Amazon Kindle, Apple Books, Kobo, and other major platforms.
Why Formatting Matters More Than You Think
When I published my first eBook, I thought I could just upload my manuscript from Word, slap on a cover, and be done. The result? Broken chapter breaks, a table of contents that led nowhere, inconsistent font sizes, and a few angry reviewers who didn’t hold back.
Trust me, a poorly formatted eBook can tank your credibility fast, even if your story is brilliant.
Think of formatting like a presentation. No matter how great the content, if it looks unprofessional, readers will assume the writing is unprofessional too. People notice the small stuff: weird spacing, missing page breaks, or links that don’t work.
And once someone leaves a negative review because the formatting made their eyes hurt, it’s hard to recover from that.
Formatting is your book’s suit and tie. If you wouldn’t wear pajamas to a book signing, don’t skip this step.
Professional formatting isn’t just about aesthetics. It improves readability, increases positive reviews, and boosts your chances of being featured by Amazon’s algorithm.
Professionally formatted eBooks are more likely to get full reads than unformatted or messy ones. More importantly, finished books are more likely to get rated, recommended, or even added to readers’ “favorite author” lists.
So even if formatting feels like a boring technical step, it’s actually one of the most important parts of self-publishing. It’s the difference between someone reading one page and closing the app… or finishing your book and immediately searching for your next one.
Understanding eBook Formats
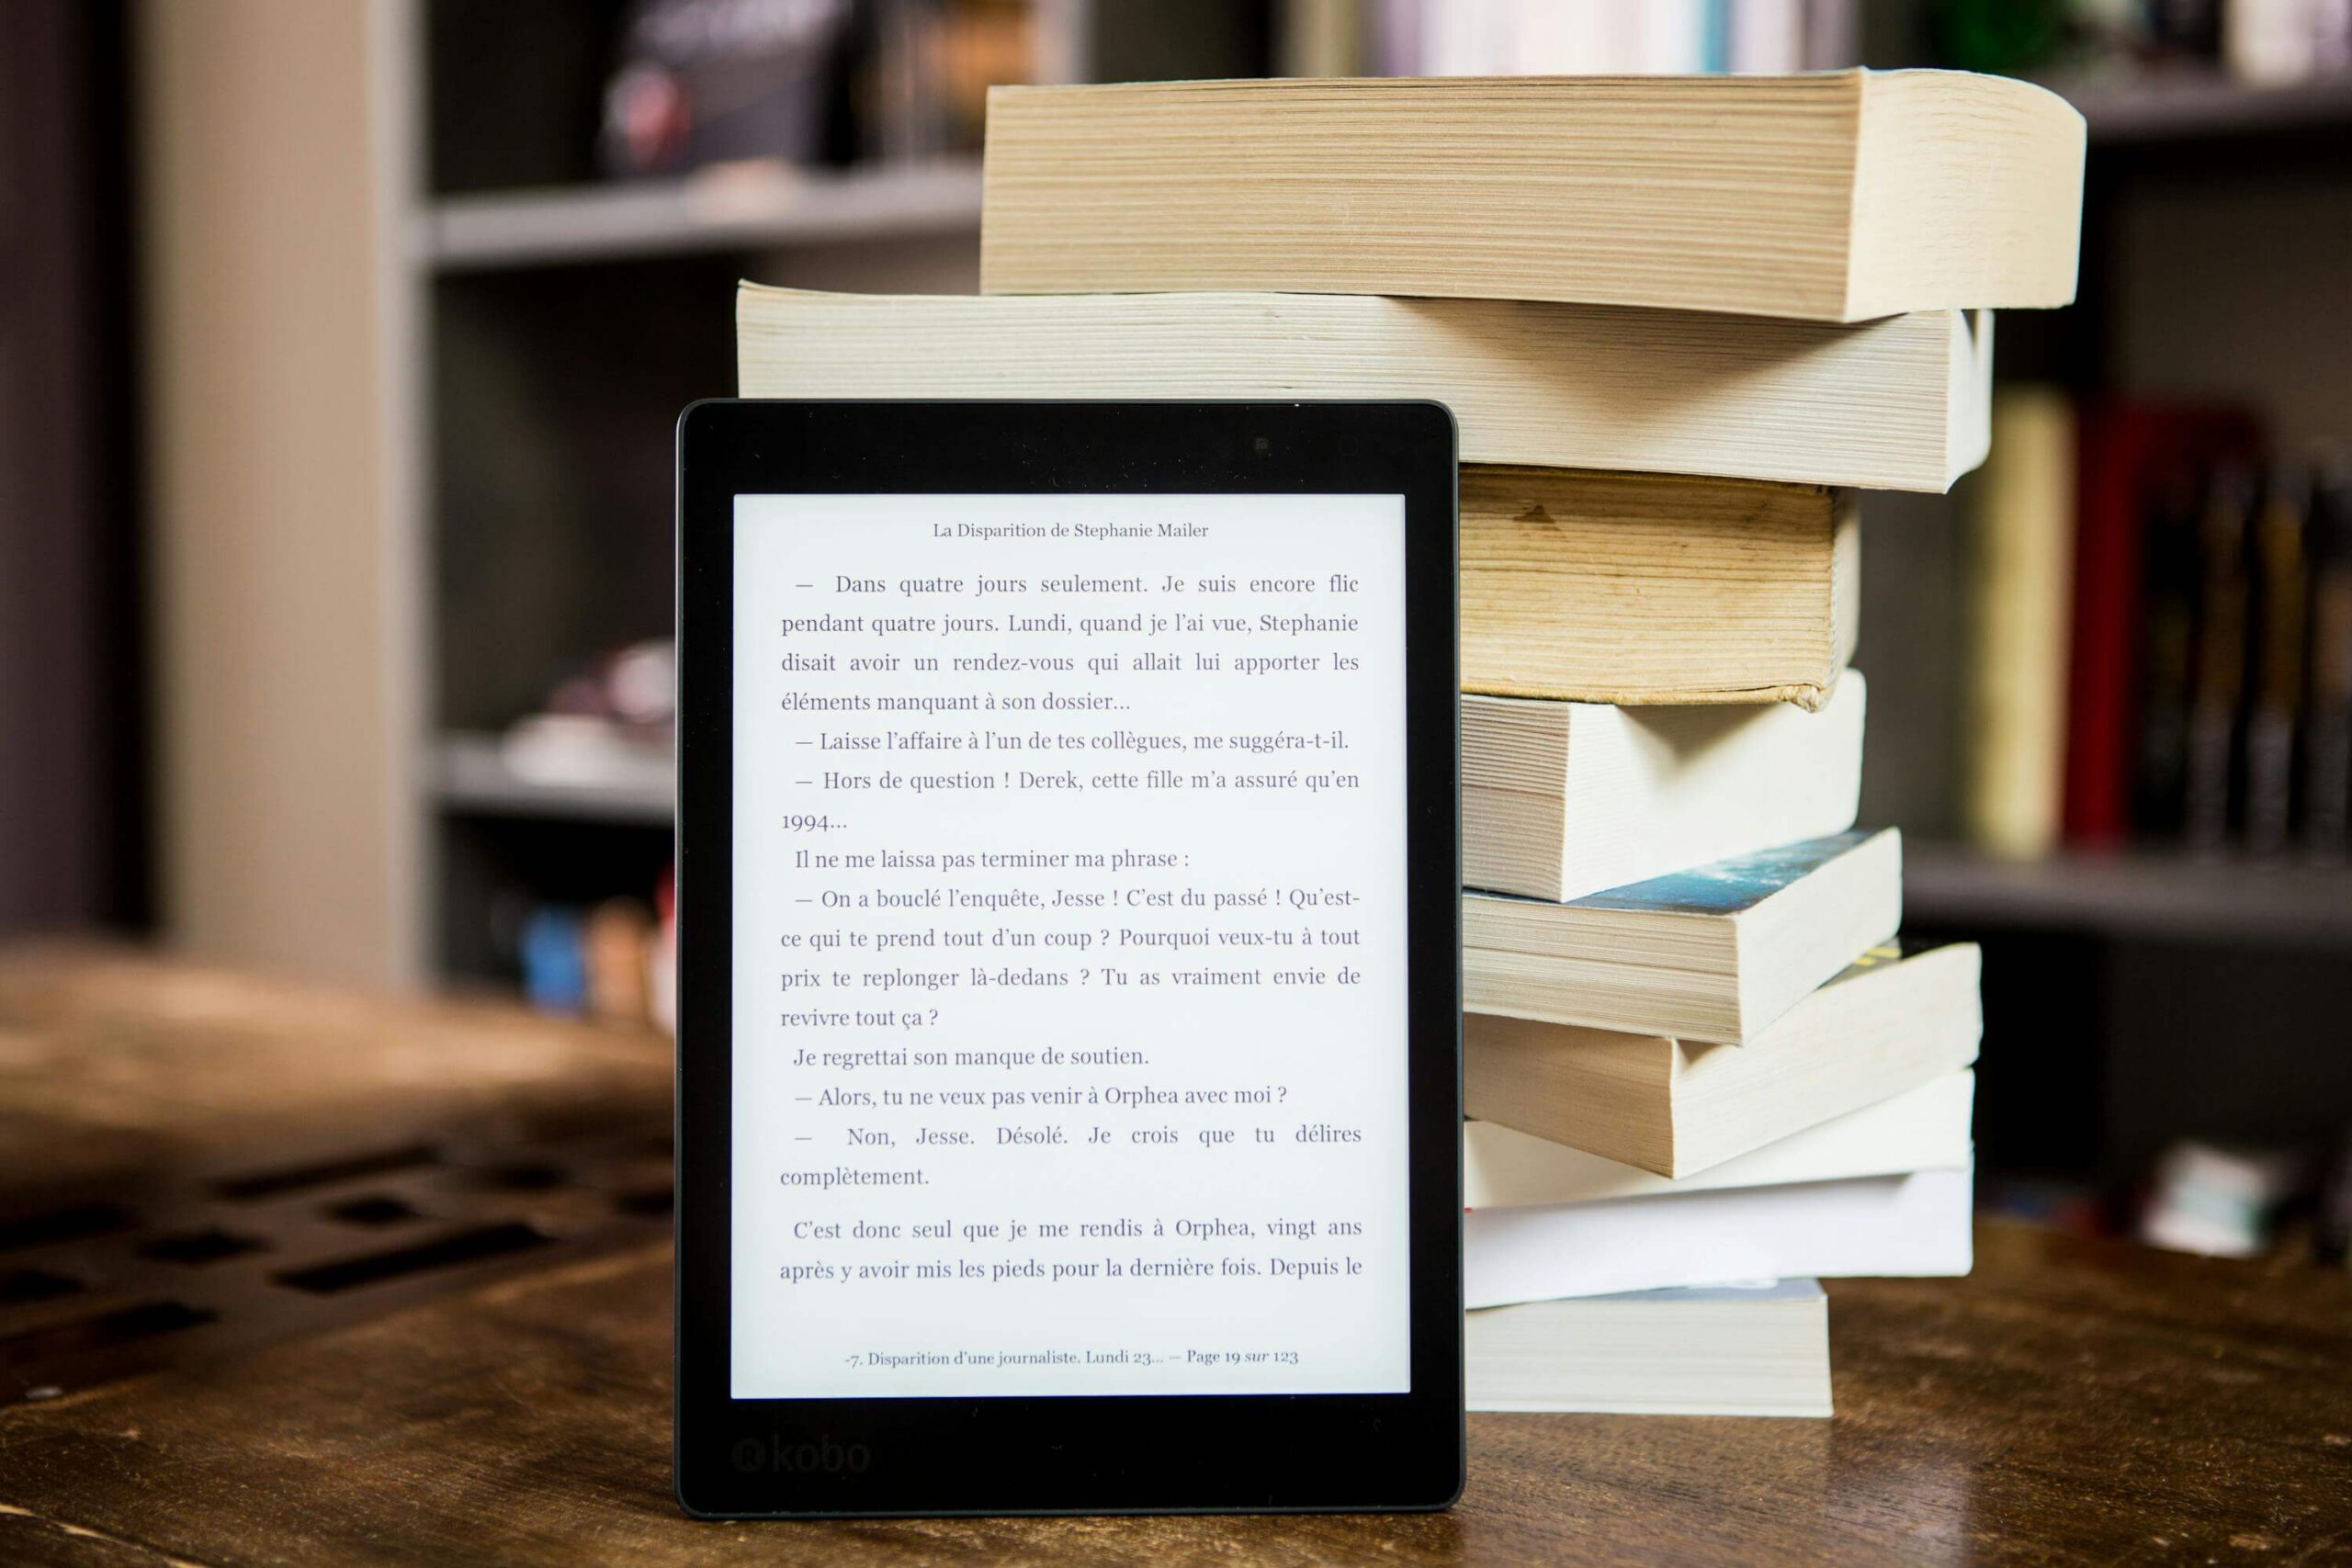
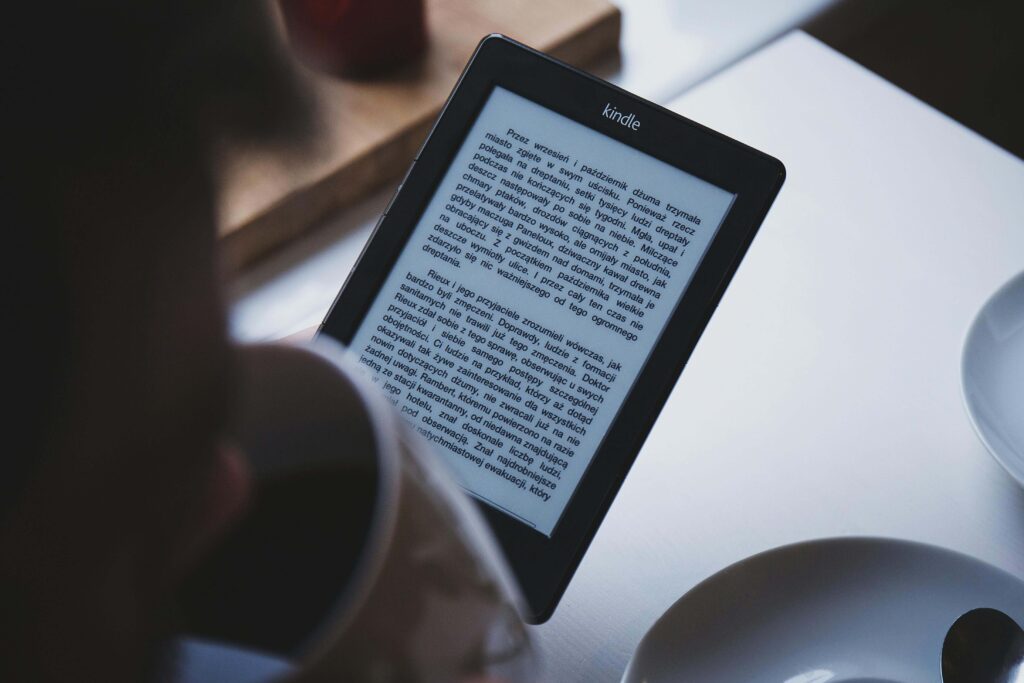
Before you dive into the how-to, you need to understand the “what.” Your manuscript has to be converted into a digital format that plays nice with devices like Kindles, iPads, and phones.
Unlike printed books, eBooks are meant to be reflowable, meaning the text needs to adjust depending on screen size, font settings, or even night mode. That’s why formatting matters so much.
If your file type isn’t compatible or isn’t set up right, your book could look like a jumbled mess on a reader’s device.
Let’s break down the main file types you need to know:
- EPUB – This is the universal eBook format. It’s accepted by Apple Books, Google Play, Kobo, and pretty much every other platform except Amazon. Think of EPUB as the MP3 of the eBook world—widely used, flexible, and easy to convert from most writing programs.
- MOBI / AZW3 – These were Amazon Kindle’s go-to formats for years, but they’re now mostly phased out. If you’re still trying to upload a MOBI to Kindle Direct Publishing in 2025, chances are Amazon will reject it or ask you to use a newer format.
- KPF (Kindle Package Format) – This is Amazon’s current preferred format, created using their free tool, Kindle Create. It’s what you’ll want to use if you’re publishing on Amazon Kindle. KPF supports rich formatting, interactive TOCs, and other Kindle-friendly features that older formats just can’t handle.
- PDF – Unless you’re giving your book away as a free bonus or printable, avoid using this for self-publishing. PDFs don’t adjust to different screen sizes, which makes reading them on a phone super frustrating. Your chapters might start halfway down a screen, or worse, readers will have to pinch and zoom just to see your text.
Here’s a tip: “Best eBook format for Kindle” and “EPUB vs MOBI” are two of the most Googled queries from self-publishing authors, so if you’re still unsure, start by figuring out where you want to sell your book.
From my own experience, I tried uploading a DOCX file straight to Amazon, thinking it would do the job. It technically worked, but the formatting came out so broken it looked like a ransom note. That’s when I learned the hard way: use the right tool for the platform.
In short, if you’re publishing on Amazon Kindle, use KPF via Kindle Create. If you’re going wide—like with Draft2Digital, Smashwords, or direct to Apple Books—stick with EPUB. Your file type is the foundation of your eBook’s readability, and getting this part right saves you from a lot of headaches later on.
Get Your Manuscript Ready
Before you start formatting, make sure your manuscript is completely done. That means it’s been edited, proofread, and free of typos. Don’t try to fix plot holes or rewrite chapters after you’ve started formatting. It’ll only create extra work. I made that mistake once, and redoing everything from scratch was a nightmare.

Do one final read-through. Use tools like Grammarly or ProWritingAid, and if you can, have someone else review it too.
Once it’s truly ready, pick your formatting tool. If you’re on a budget, Reedsy Book Editor or Google Docs work well and are easy to use. If you want a more polished look, tools like Scrivener or Vellum (Mac only) are great. Many indie authors love Vellum for how easy it makes formatting both eBooks and print versions.
When setting up your text, keep things simple and clean. Use a readable font like Times New Roman or Georgia in size 12. These fonts are easy on the eyes and display well across most devices.
Make sure your text is aligned to the left rather than justified. Justified text can look neat in print but often creates awkward spacing on smaller screens.
Avoid using the tab key to indent your paragraphs, as this can cause formatting issues when your file is converted. Instead, use your word processor’s formatting tools to set proper paragraph indents.
And don’t forget to insert a page break after each chapter. Pressing Enter several times might look fine in a Word document, but it won’t hold up on an eReader. Page breaks ensure a clean, professional layout across all devices.
Getting this part right makes everything else easier. A well-prepared manuscript saves time and gives your eBook a more professional finish.
Add a Clickable Table of Contents
A table of contents (TOC) isn’t optional. Amazon checks for it when you upload your eBook, and readers rely on it to jump between chapters without endless scrolling. If it’s missing or not clickable, it can make your book feel unprofessional and hard to read.
The good news? It’s easy to create. In Microsoft Word, just highlight your chapter titles, apply Heading 1, then go to the “References” tab and insert a TOC. Just make sure you update it before saving your final file.
If you’re using Scrivener, Reedsy, or Kindle Create, these tools will automatically generate a TOC for you, as long as your chapters are organized properly.
It’s a simple step, but it makes a big difference. A clickable TOC helps your readers move through your book smoothly and shows that you’ve put care into the details.
Front and Back Matter: Don’t Skip These
Your book’s front matter and back matter are key to making it feel complete, polished, and professional. More importantly, they play a huge role in helping you market your book and build your author brand.
Think of the front matter as your book’s welcome mat. It sets the tone before readers even dive into Chapter One. At a minimum, your front matter should include:
Use the right tool for the platform—uploading the wrong file type is a fast way to ruin your reader’s experience.
- Title page – This should have your book title, your name (or pen name), and optionally, your tagline or subtitle.
- Copyright page – Even if you’re self-publishing, you need this to protect your work. Include the copyright symbol, year of publication, your name, and a brief rights statement.
- Dedication (optional) – A short personal note to someone important to you. This adds a human touch and gives your book personality.
Now, the back matter is where the magic happens for self-published authors. This is your chance to keep readers engaged after they finish the last page. Don’t just end your book and hope they’ll Google you later. Give them a clear path to follow.
Here’s what your back matter should include:
- About the Author – Keep it short but memorable. Share something that makes you relatable or builds credibility. Mention your writing journey, interests, or where readers can find you online.
- Links to your website or newsletter – This is one of the most important parts if you’re building an email list. A simple line like “Want to hear about my next release? Sign up at [your website]” can turn readers into loyal fans.
- A CTA to leave a review or buy your next book – Don’t be shy. Ask readers directly to leave a review on Amazon or Goodreads. If you’ve written other books, this is also the place to promote them with a short blurb and link.
These sections may seem small, but they’re golden opportunities to make a strong impression and grow your audience. I’ve seen authors skip them, and it almost always feels like something’s missing, like the book ends too abruptly.
When done right, your front and back matter can quietly do the heavy lifting for your long-term success. So don’t let them go to waste.
Add Hyperlinks and Images (Wisely)
If you’re linking to a website, newsletter, or other books, make sure all your hyperlinks are working. Seriously, double-check every single one. Broken links are amateur-hour stuff and can instantly make your eBook feel sloppy or unfinished.
You don’t want a reader clicking on a link to your next book only to hit a dead end. That’s a missed opportunity, and it could cost you a sale or a subscriber.
Now let’s talk images. You don’t need to stuff your eBook with visuals just because you can. Only include images if they add real value, like charts that clarify a complex idea, diagrams in non-fiction, or full-color illustrations in a children’s book. For a standard novel or memoir, chances are, you won’t need any at all.
Keep your image files under 1MB so your eBook doesn’t end up too large to upload, or worse, slow to load on devices. Stick with JPEG or PNG formats, and avoid inserting high-resolution files straight from your phone or camera without shrinking them down first.

Pro tip: Use free tools like TinyPNG or ImageOptim to reduce image file size without losing quality. I’ve used them countless times, and they work like magic—clean, fast, and no visual downgrade. Trust me, your readers (and their devices) will thank you.
Pro tip: Use free tools like TinyPNG or ImageOptim to reduce image file size without losing quality.
Export to the Right File Type
Once your manuscript is cleaned up—your table of contents is working, your front and back is in place, and your paragraphs and spacing look good—it’s time to export your eBook.
If you’re publishing to Amazon, the easiest and most reliable way is to use Kindle Create. Just upload your file, make a few quick adjustments, and export it as a KPF file. This is the format Amazon prefers because it works smoothly on all Kindle devices.
If you’re publishing widely on platforms like Apple Books, Kobo, or Google Play—export your file as an EPUB using tools like Reedsy, Scrivener, or Calibre. EPUB is accepted almost everywhere and looks great on most devices.
Avoid using PDFs unless you’re offering a free download on your website. PDFs don’t adjust well to screen sizes, which makes them hard to read on phones and tablets.
Getting the file type right is a small step that makes a big difference. It helps your eBook look professional and gives your readers a smoother experience.
Common Formatting Mistakes to Avoid
I’ve worked with a lot of indie authors, and the same formatting mistakes keep popping up. These might seem small, but they can seriously hurt how your eBook looks and how readers feel about it.
A common one is using the tab key instead of setting proper paragraph styles. Tabs don’t always convert well and can mess up the spacing on different devices.
Another issue is justifying the text. While it might look clean in print, it often creates weird gaps between words in eBooks, especially on smaller screens.
Some authors forget to add page breaks between chapters, which makes everything run together. It’s confusing and makes the book look unfinished.
Then there’s uploading a PDF, thinking it’ll work. It won’t. PDFs don’t adjust to screen size, so they’re hard to read on phones and tablets.
And finally, not testing the eBook on different devices is a big mistake. What looks fine on your computer might look terrible on a Kindle or phone.
If you want your book to look professional and be easy to read, take the time to format it properly. Readers might not thank you for good formatting, but they’ll definitely notice if it’s bad.
Tools That Make Formatting Easier (and Faster)
You don’t have to hire a professional formatter unless you really want to. Most self-published authors do it themselves these days, and honestly, it’s not that hard once you know which tools to use. There are great options out there, even if you have zero design or tech experience.
If you’re looking for free tools to help you format your eBook without spending a dime, you’ve got a few solid choices. Reedsy Book Editor is super beginner-friendly and works right in your browser.
You can write, format, and export your book to EPUB or PDF easily, which is perfect if you’re just starting out. Calibre is a bit more advanced, but it’s great for converting your eBook to different file types like MOBI, EPUB, or AZW3. It’s also useful for editing metadata and making small tweaks to your files.
A poorly formatted eBook can tank your credibility fast, even if your story is brilliant.
Another great option is Draft2Digital, which lets you upload your Word document and automatically formats your book for major platforms. It even helps you publish to stores like Apple Books, Barnes & Noble, and Kobo, making it one of the best tools for wide distribution.
If you’re okay with spending a bit for more control and features, there are a few paid tools worth checking out. Vellum is a favorite among self-published authors. It’s beautifully designed, easy to use, and lets you preview exactly how your book will look on different devices like Kindle, iPad, or Nook.
Just keep in mind it only works on Mac. Scrivener is another strong option. It’s great if you want to write and format in one place, and while it takes a bit of time to learn, it’s powerful and widely used in the indie publishing world.
Then there’s Atticus, which works on both PC and Mac. It combines writing and formatting in one tool and is a solid alternative to Vellum for those who don’t use Apple.
Once you try these tools, formatting won’t feel nearly as overwhelming. Start with the one that fits your workflow best, and you’ll pick it up quickly.
Formatting Is Your Book’s Suit and Tie
Here’s my honest opinion: formatting is the single most overlooked step in self-publishing, and it shouldn’t be. If your book is your brand, then formatting is your outfit. Would you show up to a book signing in pajamas? Probably not.

Your writing deserves to be taken seriously. That means no shortcuts, no typos, and no formatting fails. Take a couple of extra days to polish your file. Preview it. Test it. Make it shine.
Because no matter how brilliant your story is, it won’t matter if your reader gives up after the first page because your text looks like a jumbled mess.


